Invader 22
right
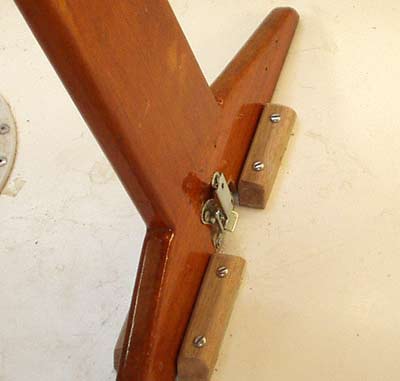
The leg slopes inwards because the floor has a slight rise - so some sort of catch was needed. It took a lot of pondering - I ended up with the catchplate fixed to an extension of the foward lug (see above) angled slightly to the plane of the leg. Then cut a small housing out of the leg base to fit over it. Works well - very rigid.
As an aside - the nice varnish is a treat. I took the table home - stripped it with Nitromors and did it at my leisure in the spare room. As I've recently discovered - various bits of new varnishing on the boat on surfaces I haven't stripped - despite degreasing, wet sanding, sugar soaping - the new varnish has not made too good a bond to the old. Very strange - I think somewhere along the line, everything has had a coat of something just plonked straight on top of a greasy/waxy surface and it thisold interface that is pulling off. Either way - unless its been stripped , with difficulty, back to absolute bear timber, it just does not seem to want to take a varnish coat
It certainly is not easy to strip - even with very un-user friendly Nitromors Original - maybe its something to do with the original coating. I did try using the stripper on the boat. I'm generally not too fussy about fumes, but there was 'no way' with that stuff. I was going to try some of the 'odor free' options - but was running out of enthusiasm for 'surface finishing' at the time.
Its really only the main bulkhead that forms one side of the heads - the other side is new teak ply. It looks good enough for now - some time in the future I can strip it - not just at the moment.
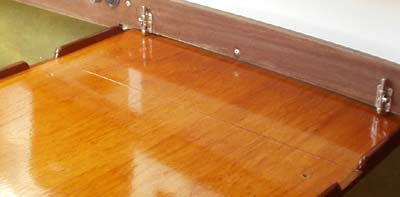
For the shortened fixing I've used the two stainless bolts - the original fixings are two bronze pins which push down through a hole in the table - behind the wood trim, then right through the moulding. Trouble is, this is in the bottom of a very useful shelf, so finding the holes and/or the pins is a fiddle.
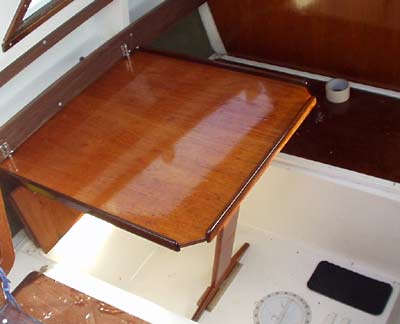
In the extended position the leg is vertical - and fits to the lug just showing to the right of round access panel. The great advantage, apart from the extra clear space, is that you can sit on the berth ( by the masking tape) and put your feet up on the one opposite !
Below
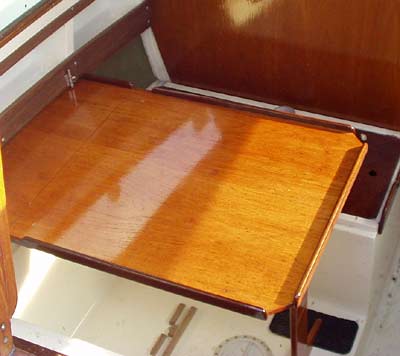
In the full size position - as original - but with the join and the gaps in the edge moulding, so it will push into the slot when folded. For now I'm still using the bronze pins, but can use the bolts as an option - they are much easier and seem just as strong.
The short leg fixing, because it slopes inwards, due to a slight incline on the cabin floor - has been toggle fixed between the two lugs (see below)
It would have been nice to use the same toggle to fix the leg in the original, full size, position. It makes the leg very rigid - someday maybe....!!